|
Recipe
|
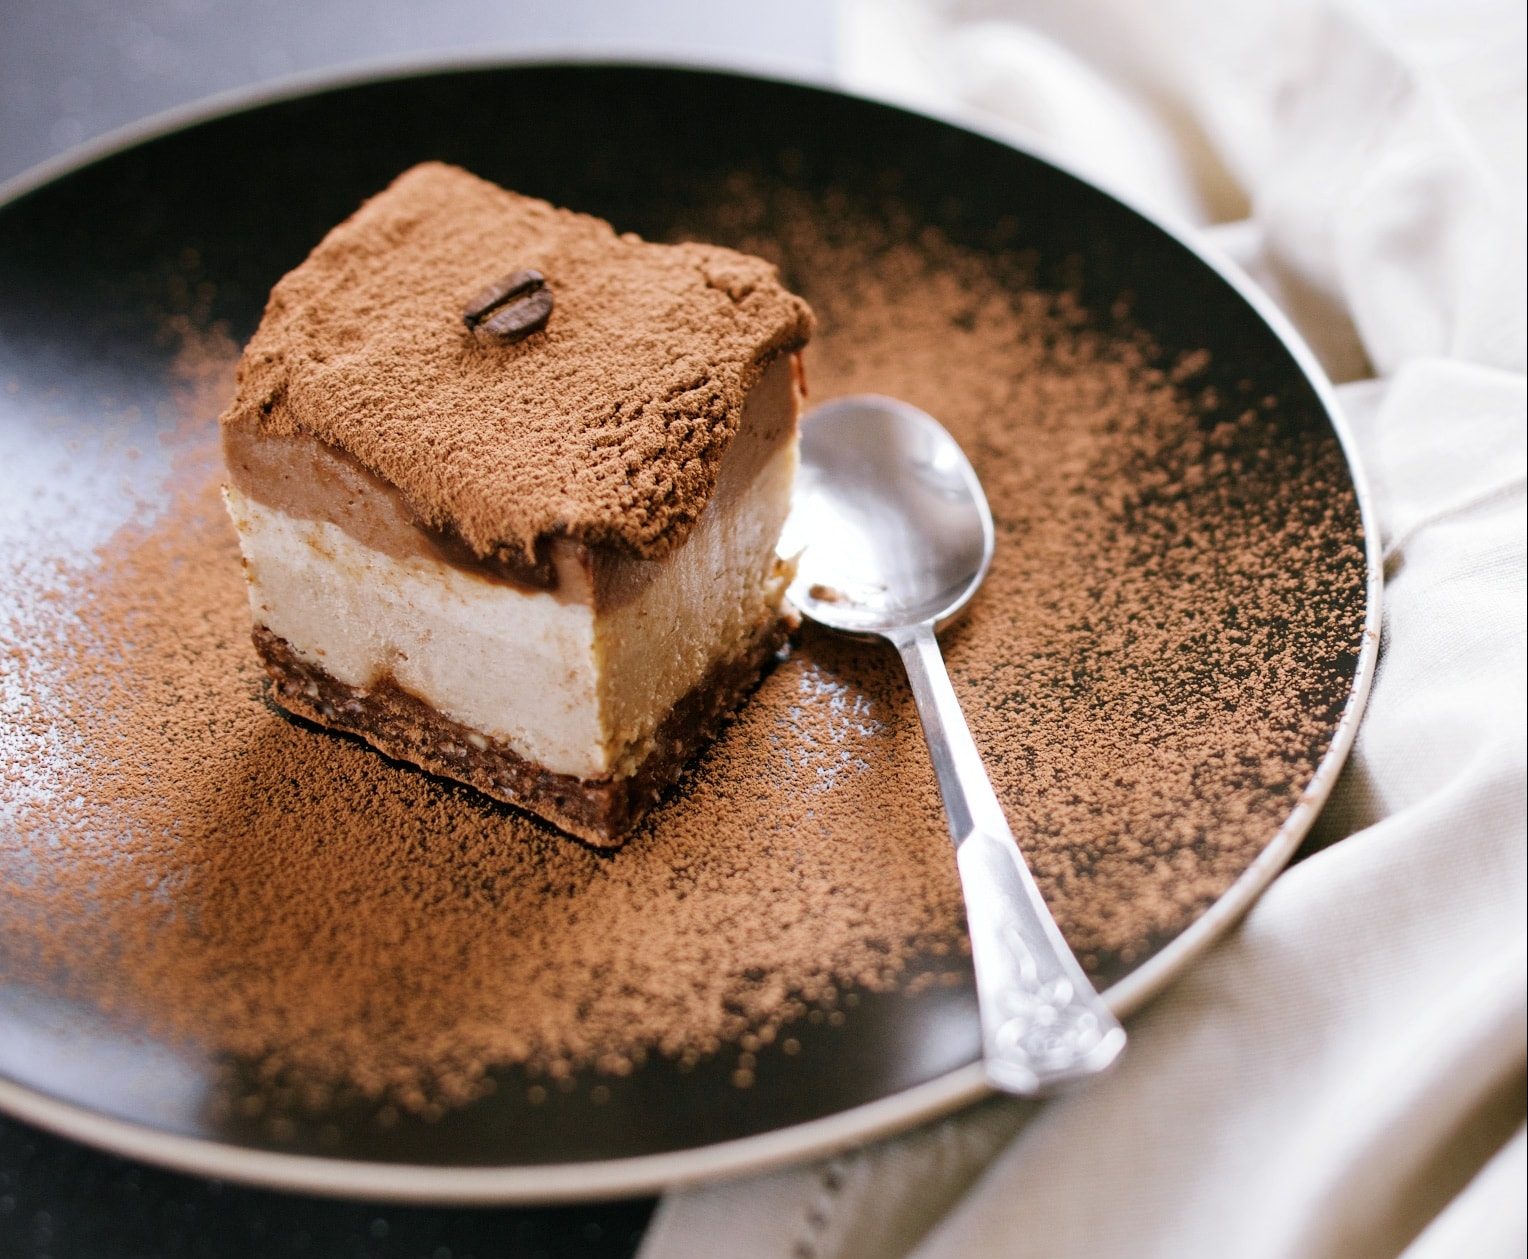
Raw Chocolate Coffee Cake
Not to brag – but we think this is one super stylish, and not to mention delicious, cake. Creamy cashew layers of chocolate, vanilla and coffee on top of a coconutty base give a whole new meaning to after-dinner coffee and cake. It’s also dairy and gluten so it means it’s perfect to serve to a crowd. This dessert is an entertainer’s dream – make it well ahead of time and whip it out to end the meal on an oh-so-delicious high. 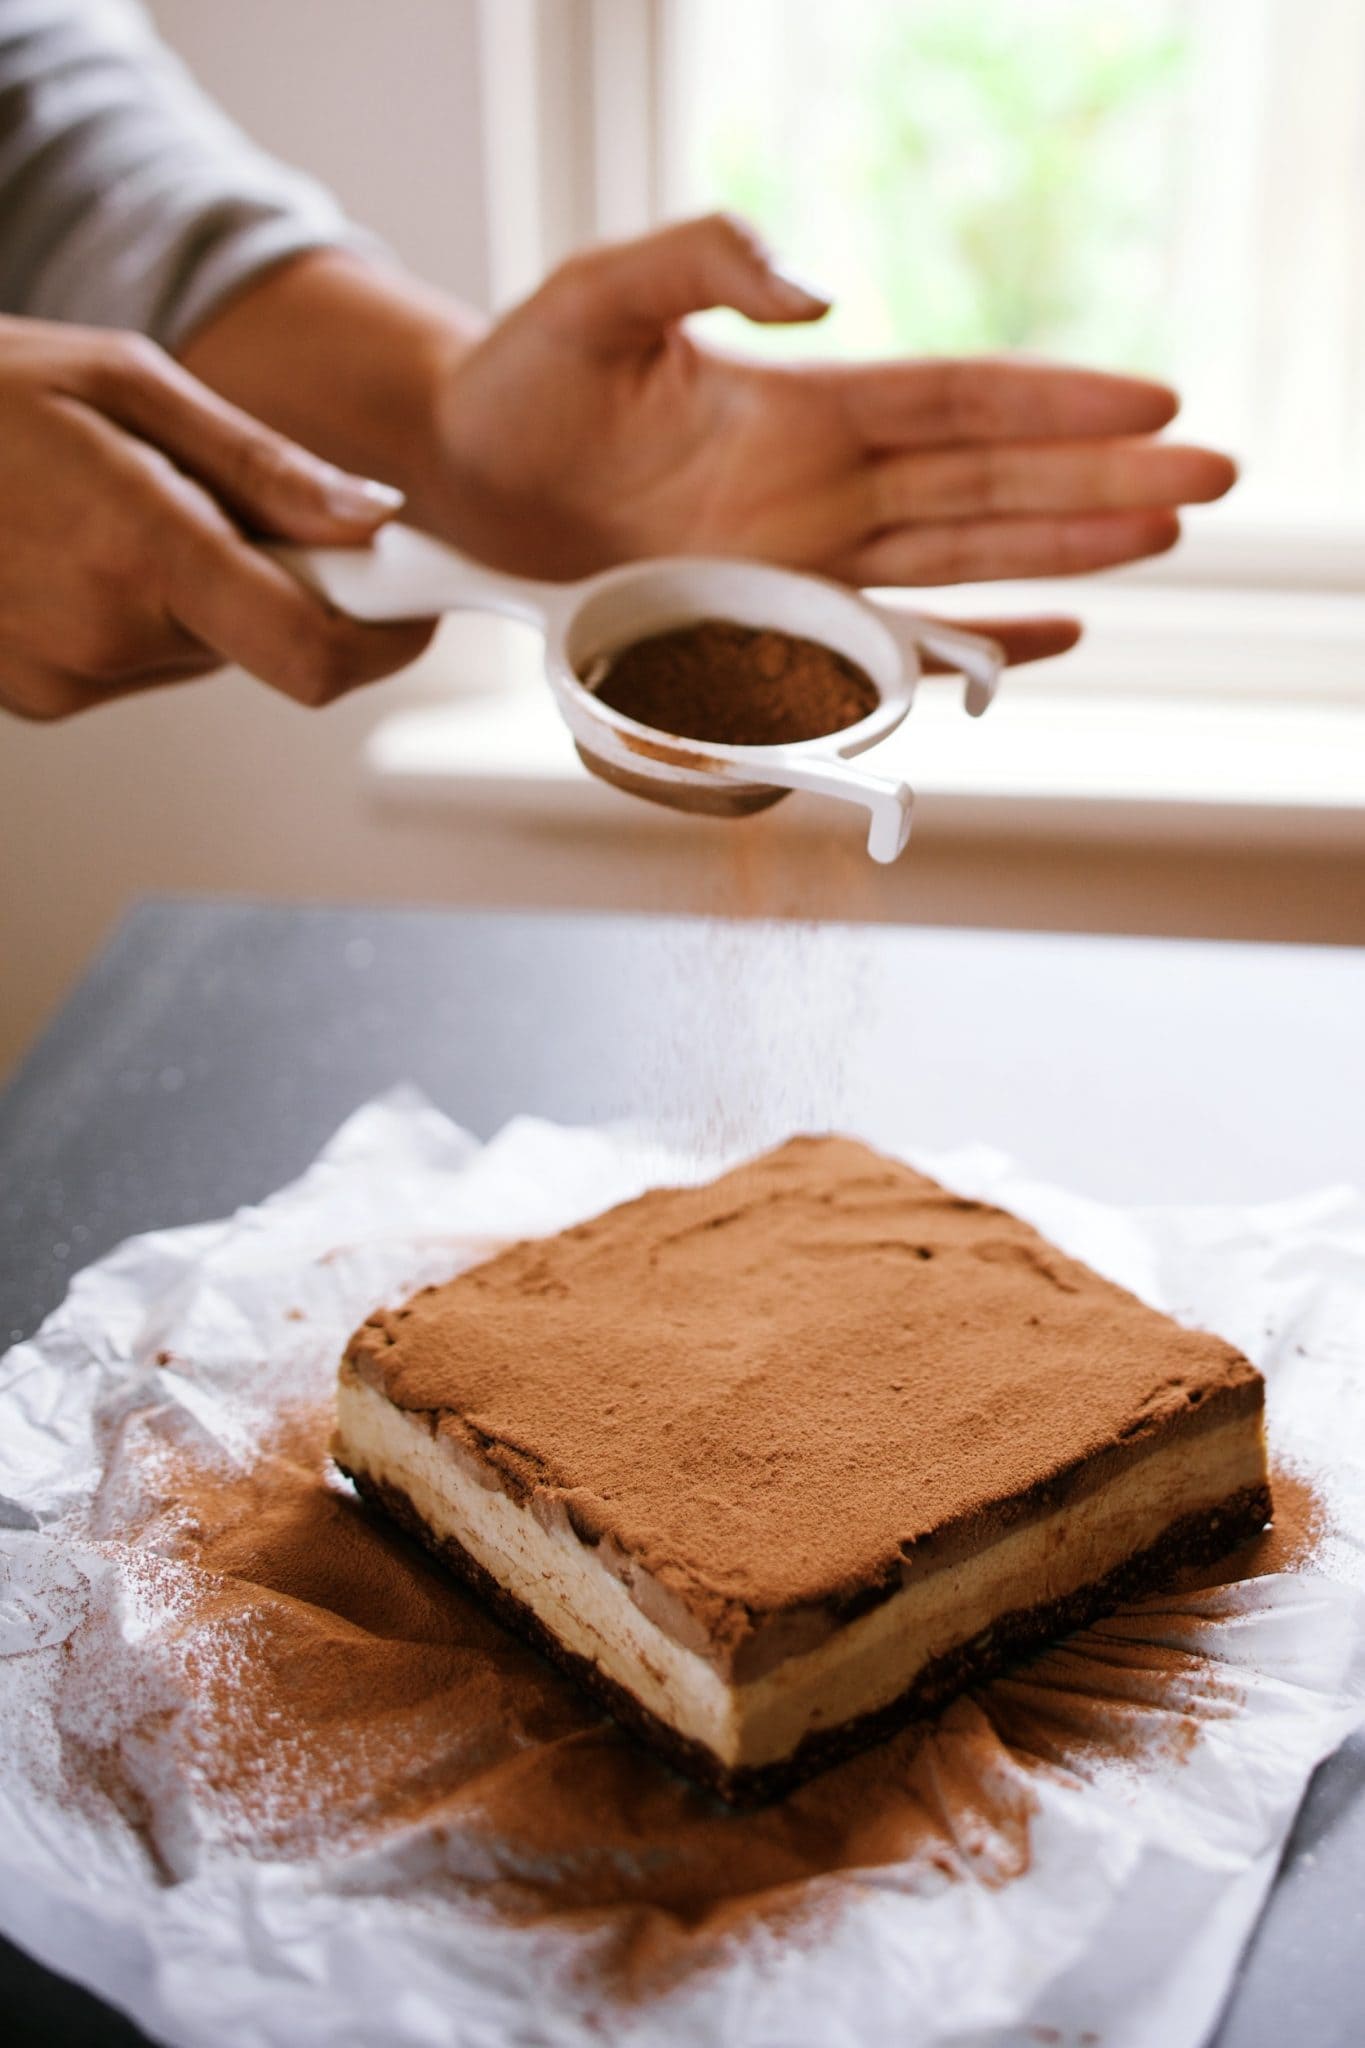

Images: Photographically IngredientsBase
Coffee Layer
Vanilla Layer
Chocolate Layer
Chocolate Sauce (optional)
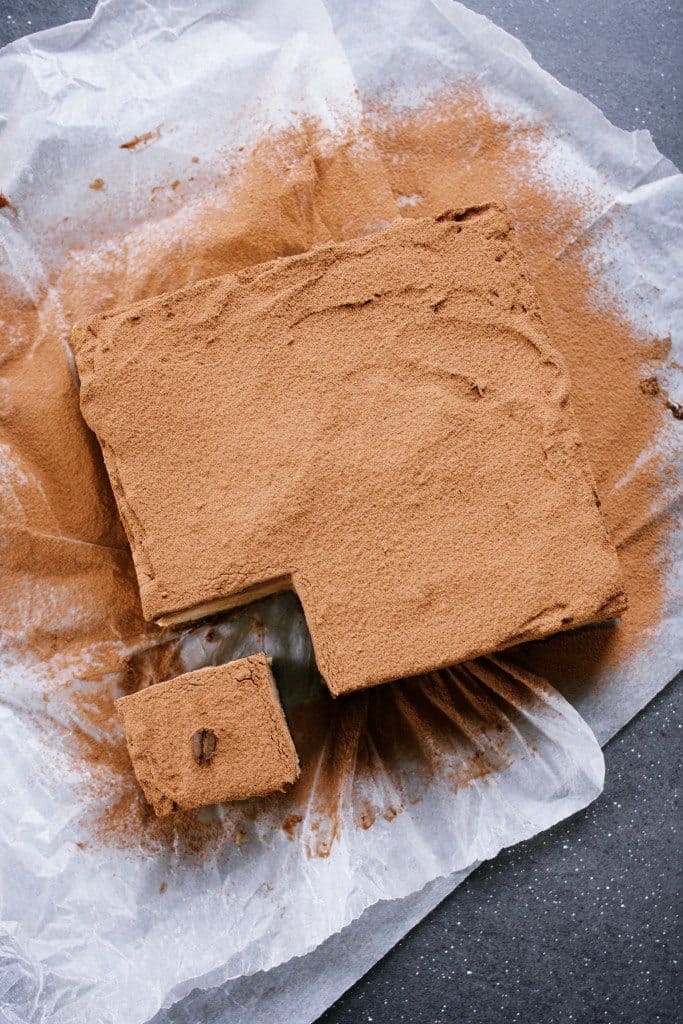
InstructionsPlace all the base ingredients into a food processor and pulse until combined. Press into the base of a 20 x 20cm tin lined with baking paper. Place in the freezer while you make the rest of the cake. Start with the coffee layer by placing all ingredients into a food processor and blend until smooth and creamy, about 3 mins. Pour over the base and place back into the freezer. Continue using the same method for the following layers, remembering to place the cake back into the freezer between each layer so it has a chance to set a little before the next layer goes on top. It might sound a bit fiddly but this is what gives you the nice clean layers which look incredible when you slice the cake later on. Once you have finished all three layers, place the cake back into the freezer and leave for at least 4 hours to completely set. When you are ready to serve, spoon the COCO² over the top and cut into slices. This cake is seriously yummy but also very rich so we recommend keeping the slices small.
|